How to Paint a Classic Car at Home (Step-by-Step)
The Barn Find Garage's honest guide to a home paint job: what it costs, what you need, and how to get a driver-quality finish without a spray booth.
Painting a classic car at home sounds like a bad idea until you've done it once. Get it wrong and you're staring at runs, orange peel, and a car that looks worse than when you pulled it apart. Get it right and you save thousands on a finish you're proud of. The truth: a home paint job is realistic for driver quality — the kind that turns heads at a show and shrugs off a daily commute. It is not realistic for concours. That takes a booth, a good gun, and skills built over years. This guide covers the process in the order you should work. New to restorations? Read the beginner's guide first.
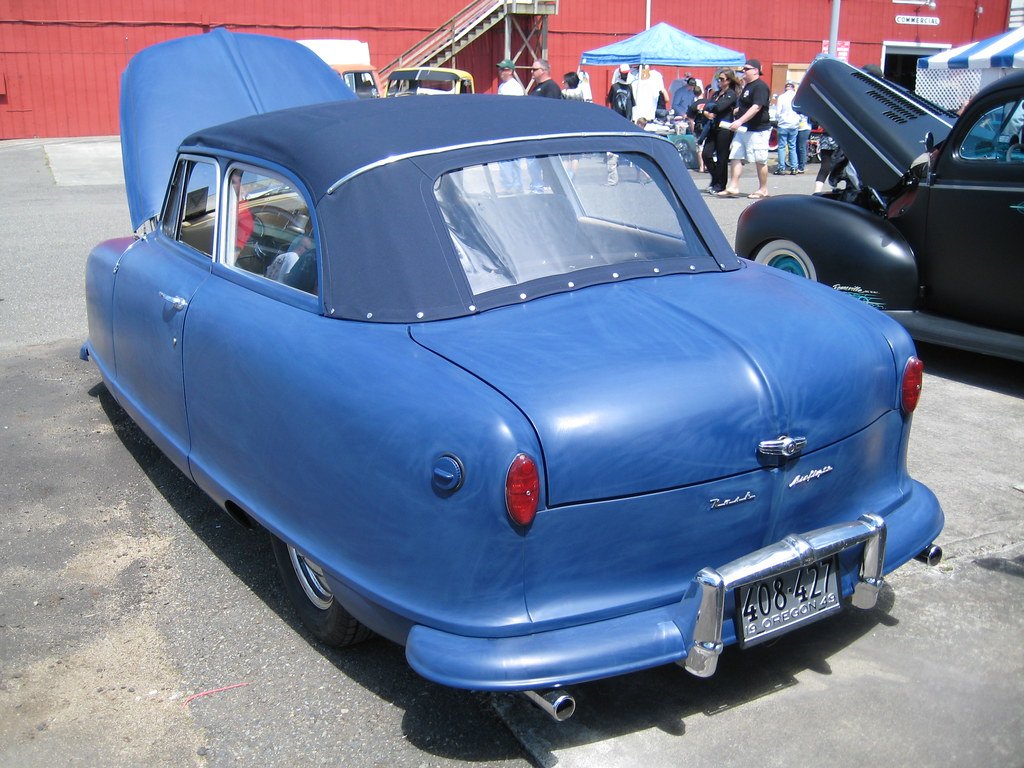
Can You Really Paint a Car at Home?
Yes — with honest expectations. Driver quality means a straight, glossy finish that looks great from a few feet away and survives daily use. Show quality means flawless paint. You can hit driver quality in a garage; show quality needs a booth and years of practice.
Most DIY failures come from prep, not spraying. A modern single-stage urethane is forgiving — sprayed properly, it flows out and levels itself. The guys who fail skipped sanding, painted over bare metal, or sprayed in a dusty shed.
Plan on a weekend of prep and a day of spraying, then a few weeks of curing before you can cut and polish. Still a fraction of what a shop charges.
What a Home Paint Job Costs
Here's a realistic budget. Prices are in USD and vary by region:
| Item | Typical cost (USD) |
|---|---|
| Single-stage paint materials (colour, reducer, hardener) | $300–800 |
| Base coat + clear coat materials | $1,000+ |
| DA sander (if you don't own one) | $60–150 |
| HVLP spray gun | $80–400 |
| Air compressor (if you don't own one) | $300–1,500 |
| Sandpaper, filler, masking tape, plastic sheeting | $150–300 |
| Respirator with organic vapour cartridges | $40–120 |
Those numbers suit a small car — a Sprite, a 240Z, an MGB. A full-size sedan drinks more paint. You can rent a compressor for the weekend, and every tool on the list gets reused on the next job. Compare the total against $4,000–8,000 for a shop paint job and the math does the talking.
Safety and Your Spray Area
Nobody plans to get sick from paint. It happens anyway, because urethane hardeners contain isocyanates — chemicals that sensitise your lungs permanently. A cheap dust mask does nothing. You need a respirator with organic vapour cartridges; a 3M 6000-series half mask with 6001 cartridges is the standard answer, around $40–120 (check current price before buying).
Ventilation matters just as much. Spray with the garage door open and a fan moving air across you and out the back. Solvent fumes sink, so keep the airflow low. No pilot lights, no space heaters near solvent — the stuff is flammable. Wear nitrile gloves; paint thinners go through skin quickly.
Your temporary booth doesn't need to be fancy. Seal the garage with 4-mil plastic sheeting on a simple frame, or use a portable paint tent — Eastwood sells a good one (check current price before buying). Wet the floor before you spray; it traps dust that would land in your finish. Leave a gap at the bottom of the walls for airflow and put the extraction fan at the back.
Prep Decides Everything
The paint job is the last 10% of the work. The other 90% is prep, and you can't skip any of it. Every imperfection below the paint will show through it.
Strip the old paint down to bare metal or a sound base, fix the rust, and sort out the dents. A 5" random orbital sander is the tool for this — a DeWalt or Milwaukee unit runs $60–150 (check current price before buying), and 3M sandpaper is the sensible buy for discs. Cheap discs load up and stop cutting.
Sanding to the Right Grit
Finish-sand to 400 grit if you're spraying single-stage, or 600 if you're laying base coat. Block sand the big panels with a long board — that's what makes them straight. Use a guide coat, a light dusting of contrasting colour, and keep sanding until it's gone. That's how you find the low spots while you can still fix them.
Primer, Filler, and Guide Coat
Never spray colour over bare metal or body filler. Epoxy primer seals the metal and gives the paint something to bite; Eastwood's epoxy primer is what most home guys use (check current price before buying). Let filler cure fully before you sand it, or it shrinks and the dent comes back through the paint a year later.
The Gear: HVLP Gun, Compressor, and Paint
The gun and the air supply decide how the paint lands. An HVLP (high volume, low pressure) gun is the right choice for home work — less overspray, better transfer. Eastwood's Concours line and Harbor Freight's budget guns both do a respectable first job (check current price before buying either).
Compressor sizing trips people up. A full-size HVLP gun wants around 10 CFM at 40 psi, and many home compressors can't sustain that — the gun starves and you get dry spray. Check your compressor's duty cycle before buying a gun, or step down to a touch-up gun that matches your air supply.
Single-stage vs base/clear: single-stage urethane carries the colour and the gloss in one coat. It's simpler, cheaper, and easier to repair, with slightly less depth. Base/clear adds a clear coat on top — deeper shine, more money, and more chances to make a mess. For a first home job on a driver, single-stage is the sensible pick.
Painting Technique: Coats, Flash Times, and Dust Control
Wipe every panel with a tack cloth before each coat. Read the paint's tech sheet and follow the flash times exactly. Two or three medium coats beat one heavy coat every time; heavy coats run.
Overlap each pass by half, keep the gun square to the panel, and move at a steady speed. Control the dust: wet floor, damp rags, spray on a still day, and close the doors while it flashes. If a run happens anyway, don't panic. Let it cure fully, wet-sand it flat, and polish it out.
Pro tip: Run a gloved hand over every panel before you spray. Your fingers find low spots and sanding scratches that your eyes walk straight past.
Common Mistakes to Avoid
- Spraying over filler or bare metal without epoxy primer. The paint lifts later, and the only fix is stripping it back.
- Painting in direct sun. Hot panels flash the solvent off too fast and you get dry spray.
- Laying on one heavy coat instead of several medium ones. That's how runs happen.
- Orange peel from holding the gun too far away or running the pressure too low.
- Fisheye from silicone. Any polish, wax, or silicone grease left in a panel repels paint. Wipe everything down with wax and grease remover first.
- Skipping the guide coat and discovering every low spot after the colour is on.
- Wearing a dust mask instead of a proper respirator. That one isn't a finish problem — it's a health problem.
FAQ
Can I paint a car with rattle cans?
Small parts and touch-ups, yes — they respond well. A full body, no. Cans cost more per litre than a gun setup over a whole car, and you won't match a sprayed finish. For a full body, buy a gun.
How long does a home paint job last?
A properly prepped urethane job will last ten years or more if the car is garaged. The paint is only as good as the prep underneath it, which is why this guide keeps hammering the point.
Do I need a spray booth?
No. A clean garage sealed with plastic sheeting and decent airflow does the job. A booth buys you dust control and even airflow; you can get most of that with a wet floor and a still day.
Single-stage or base/clear for a first job?
Single-stage. It's cheaper, more forgiving, and one less variable to get wrong. Base/clear gives a deeper gloss, but it costs more and takes more skill to lay down flat.
What temperature should I paint in?
Most urethanes spray best between 15°C and 25°C (60–75°F). Check your paint's tech sheet — hardeners are matched to temperature, and the wrong one gives you dry spray or runs.
The Bottom Line
A home paint job is a weekend of prep and a day of spraying, and the result is yours. Aim for driver quality, spend your money on epoxy primer and a decent gun, and don't rush the sanding. It's one of the most satisfying skills to learn on a build. When the car is back together and running, pick up an OBD2 code reader so you can keep it that way. And if you're outfitting the workshop for this job, the essential garage tools guide covers the rest of the list.